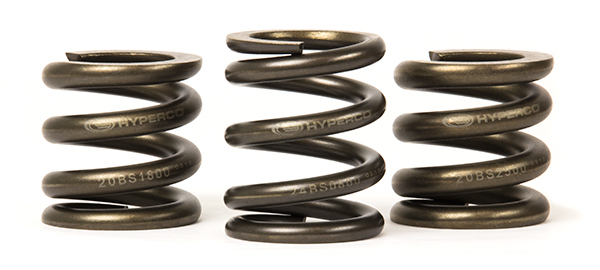
How to Select Bump Springs
Bump Springs are used with a primary spring to allow a race car a somewhat soft or compliant initial spring rate. This allows for desired ride height throughout the ride's duration. Here you will find more details on a bump spring's recommended selection and use cases.
The design load is a solid load for all rates from 800 lb/in through 3500 lb/in. For rates 4000 lb/in to 5000 lb/in, the design load is the maximum load that can be applied before the spring takes a set.
You can find the total deflection available by taking the design load and dividing it by the rate. For instance on the 800 lb/in spring, the design load of 887 lb divided by the 800 lb/in spring rate yields 1.09” of deflection. 887/800=1.09.
All of the springs through the 3500 lb/in rate are under-stressed and can be compressed to solid thousands of times without affecting free length, rate or load. For any given rate, the springs do not need to be deflected to solid or design load. You can travel them any length you need within that constraint.
To start out, you need to know the approximate load that your vehicle puts on a spring at its maximum through the corner. Then take the initial rate spring you want to use and take it to the maximum deflection point that you see and determine the spring load at that deflection. Subtract that from the total load you are going to need through the corner and that will be the minimum design load from a bump spring that you will need.
For instance: let’s say that you see a maximum of 2340 lb of load on the right front through a corner and you want to use a 12B0275UHT as your main spring on the right front. Let’s also assume that you have 650 lb of sprung weight on the right front and that you want to travel the main spring 3.0” additional before the spring rate starts to rise. 650 lb of sprung load compresses a 275lb/in spring 2.364”. The additional 3” of travel requires another 825lb (3.0” x 275 lb/in) of load on the spring. 650 lb + 825 lb =1475 lb of force contributed by your main spring. This is now the point where you want the rate to increase. A bump spring is not a stacked spring. It is a nested spring and acts as the inner spring in a dual valve spring set. Therefore the bump spring rate adds to the main spring rate from this point on. Now let’s say you will travel the suspension another 0.750”. 0.750” x 275lb/in spring rate =206 lb of load from the main spring. Add that to the 1475 lb and you have 1681 lb. Subtract the 1681 lb of load from the required 2340 lb maximum load that you see and you get 659 lb of load required in an additional 0.75” of travel. Divide 659 lb by 0.75” and you get 878lb/in minimum spring rate needed to achieve this load.
You usually want to round up to the next highest rate and that would be 1000 lb/in. Divide the 659 lb load by 1000 lb/in of bump spring rate and you will find the bump spring deflects 0.659.” That is not too far from the 0.750” of travel we are talking about. Additionally, the bump springs can be shimmed to change the “pick-up point” where they come into action. Also, if you want a slightly higher rate feel, there is nothing wrong with trying a 1200 lb/in rate.
The key point to remember is that using a bump spring creates a “nested spring” configuration where the rates are additive. With stacked springs, the combined rate is always less than the lowest rate spring. With nested springs the combined rate is always greater than each of the single spring rates. The combined rate in our example above would be 1275 lb/in.; 275 lb/in from the main spring and 1000 lb/in from the bump spring.
Contact Us
Looking for more details on bump springs or other Hyperco products? Contact us for more information.